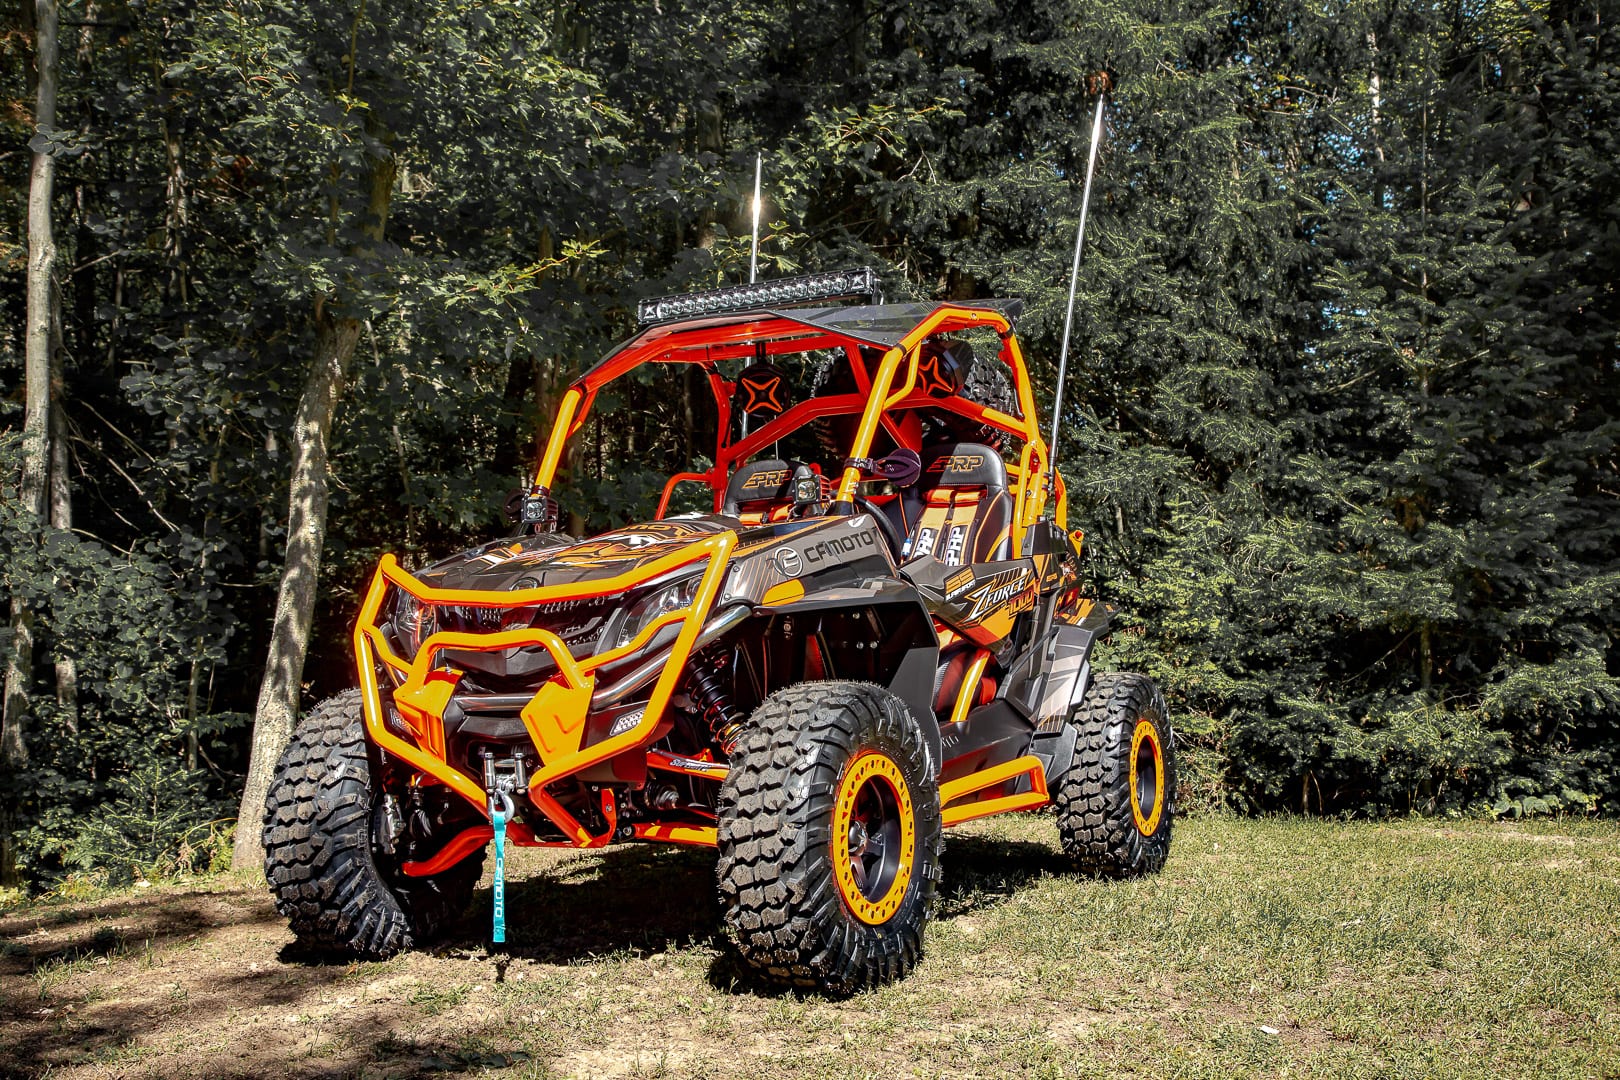
You probably have seen several of our special build projects over the years. These projects are a labor of love for us. We love the machines and the various products available, and putting them together in our own way lets us put a stamp of a project, kind of like if we got be the designer and fabricator and build our very own machine. Who wouldn’t love the chance to go into a factory and design your own machine and then build it, right? That’s why people like to customize their machines in the first place, and why the aftermarket industry is so strong. Every now and then, something really cool comes along that is truly special and our latest build, a CFMOTO ZFORCE 1000 is that thing. You see, this build isn’t just for us to share with you, our readers. What we built is going to be reproduced by CFMOTO Canada and will be sold at participating CFMOTO dealerships in 2019 as the ZFORCE 1000 Special Edition. Not only is this a dream come true for us as enthusiasts and gearheads, but it is an honor that CFMOTO trusted us enough to bring this project together.
A SOLID BASE
We started out with a machine we already liked. How well did we like it? You can read about in the very pages of this magazine in our review of the 2018 ZFORCE 1000 EPS LX. It is a great machine and a basis for our project. We knew we could take things a bit more extreme, so after we did our initial impressions of the machine, we got to work tearing it down and starting from the very basics.
We stripped the unit down and sent out many of the parts of the base machine to be powder coated. This included the ROPS cage, the front and rear bumpers, the rock sliders, and the spare tire rack. Power coating these parts again required sand blasting them down to bare steel, recoating them and applying new powder coat, and then heat-treating the finish for a glossy, factory look.
STAGE ONE – A-ARMS AND SUSPENSION
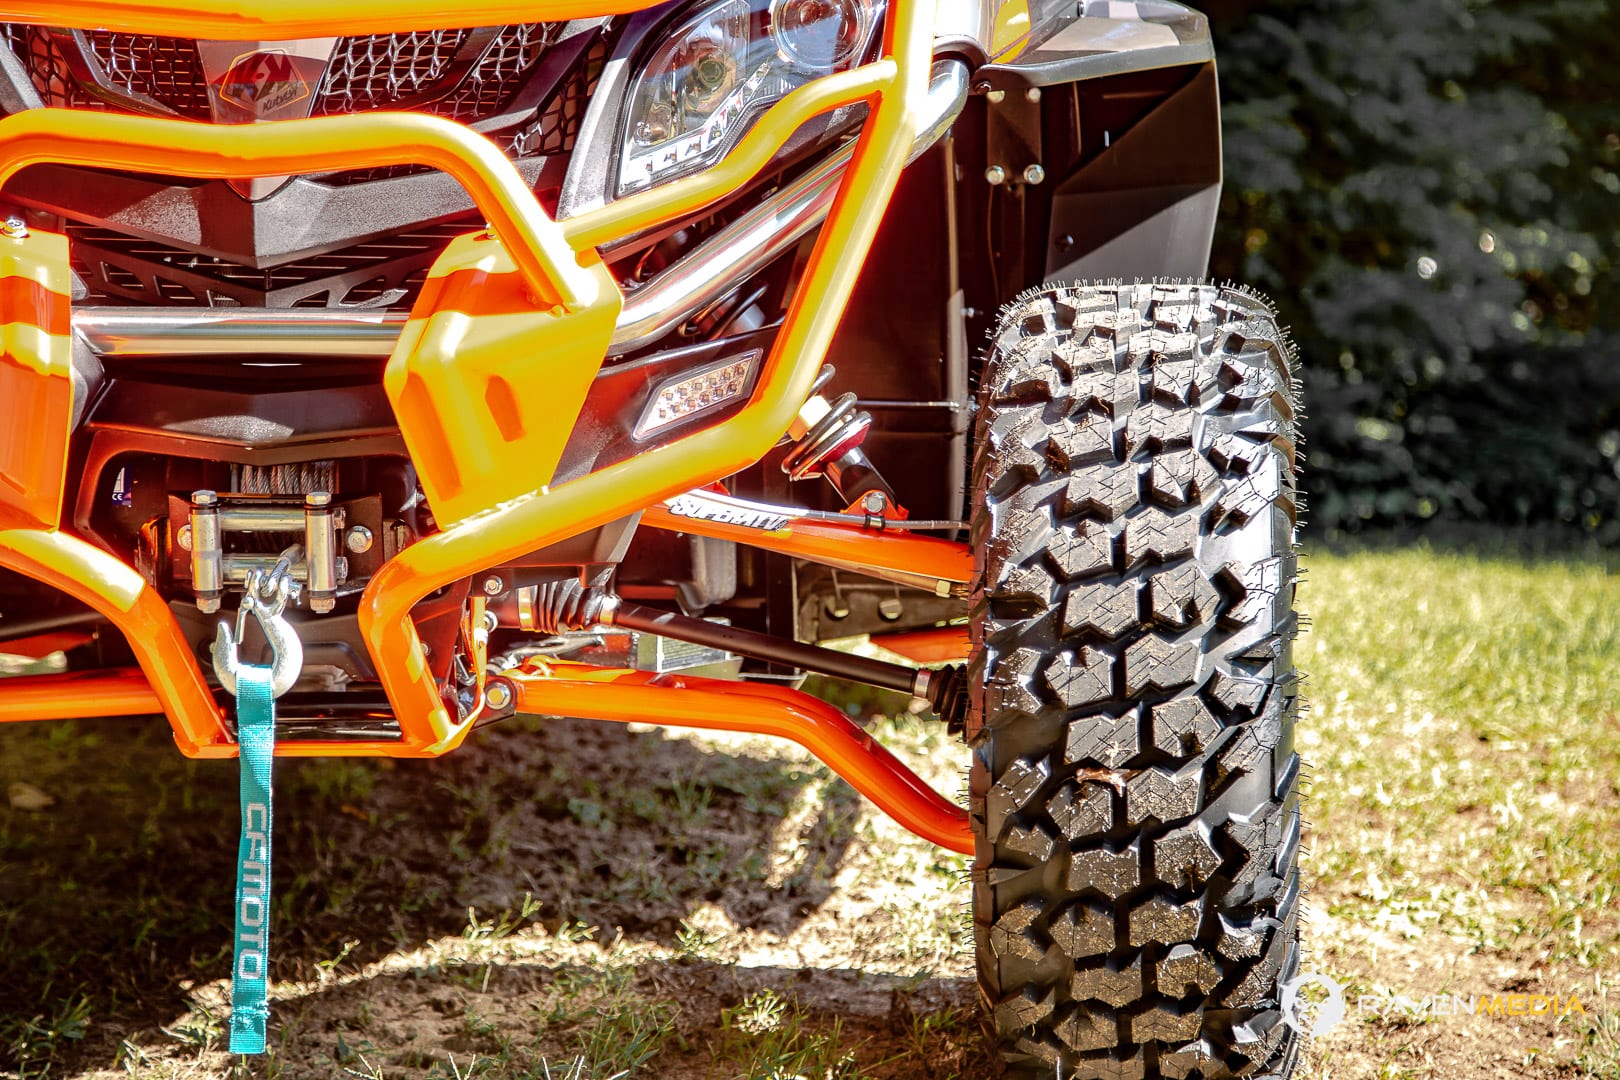
When we started to actual build process, we wanted to add ground clearance without adding a lift to the machine. To get this, we went to SuperATV for a set of their High-Clearance front A-arms for the CFMOTO ZFORCE, and a set of their rear Offset High Clearance A-arms out back. These A-arms gave us an extra 1.5-inches of ground clearance in an A-arm that is 25-percent thicker tubing than stock. It creates a highly functional piece that adds to the trail agility of the machine and looks seriously cool too. The rear arms have an additional 1.5-inches of offset, too, giving the ZFORCE a little better trail manners and stability, along with a different look.
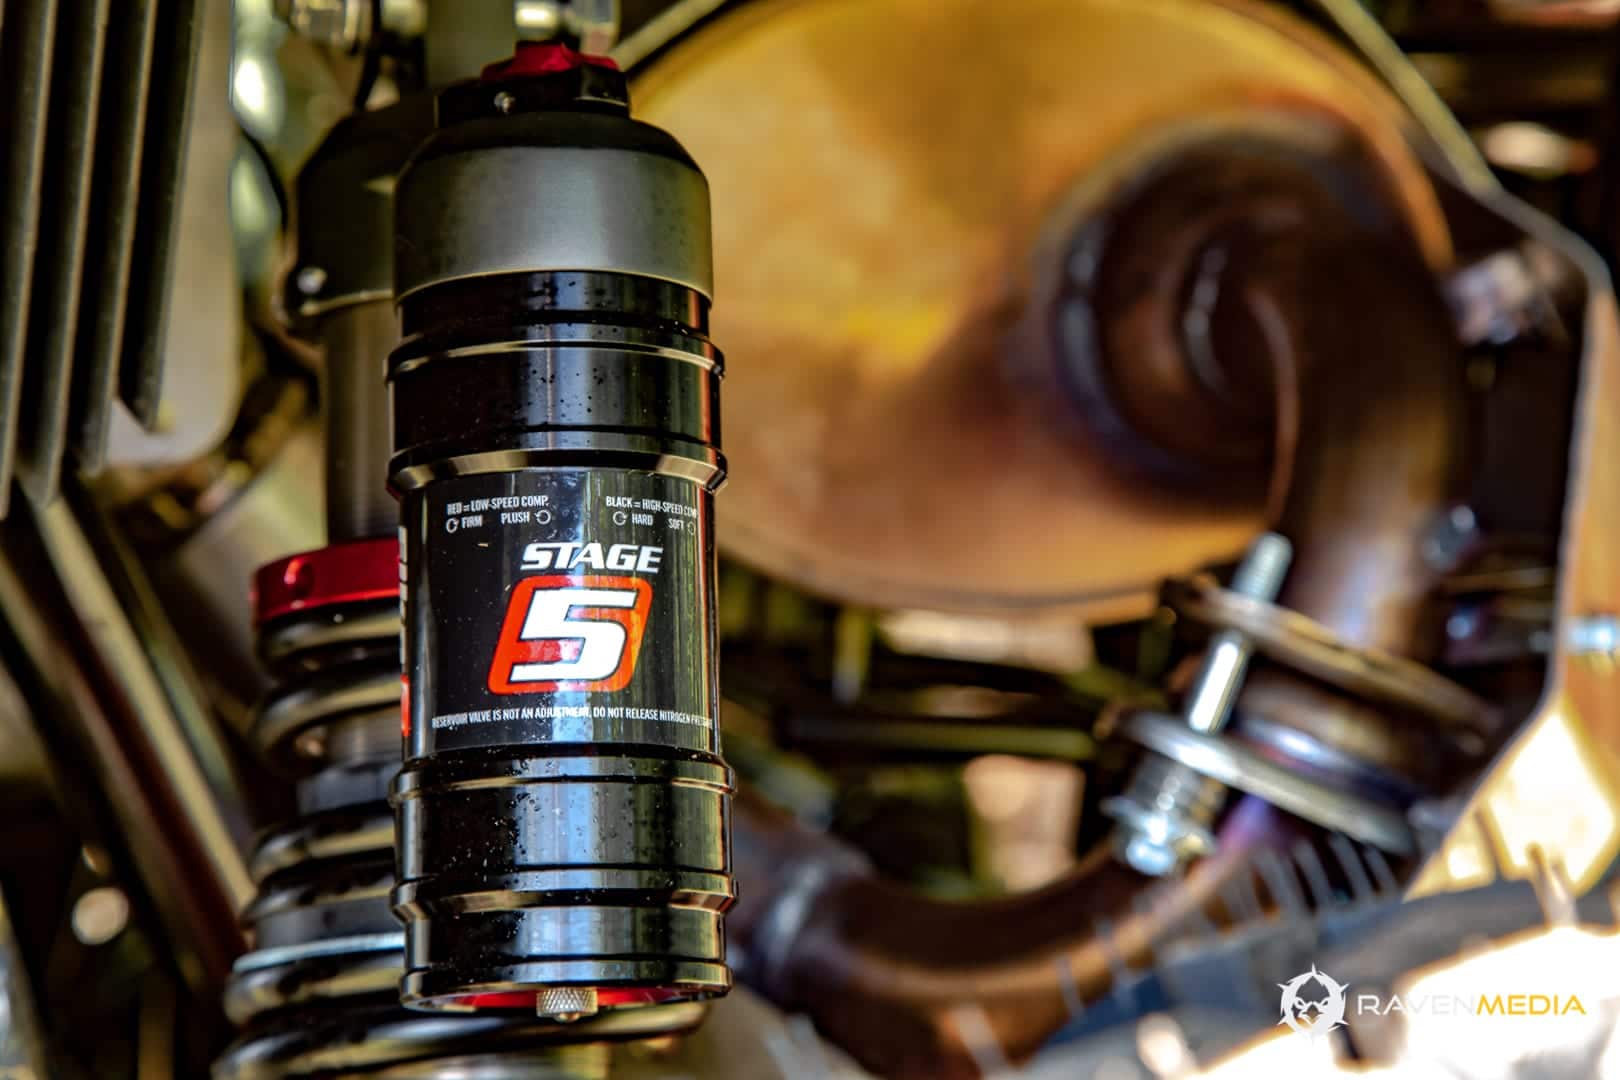
With the upgraded A-arms, we knew we needed premium shocks, and where better to go than ELKA? We added Stage 5 UTV shocks all the way around for the most adjustability and precise action possible. These shocks are legendary for their superb action with high- and low-speed compression, rebound and preload adjustment. If we stopped right here, you’d still think this was an amazing upgrade to the ZFORCE, but you know we did more.
STAGE TWO – CAGE AND ELECTRONICS
After we had our new suspension system in place, we set our newly powder coated roll cage back in place. With the cage back on, it was really starting to take shape and what we saw in our minds when we started, was actually looking more like a real machine.
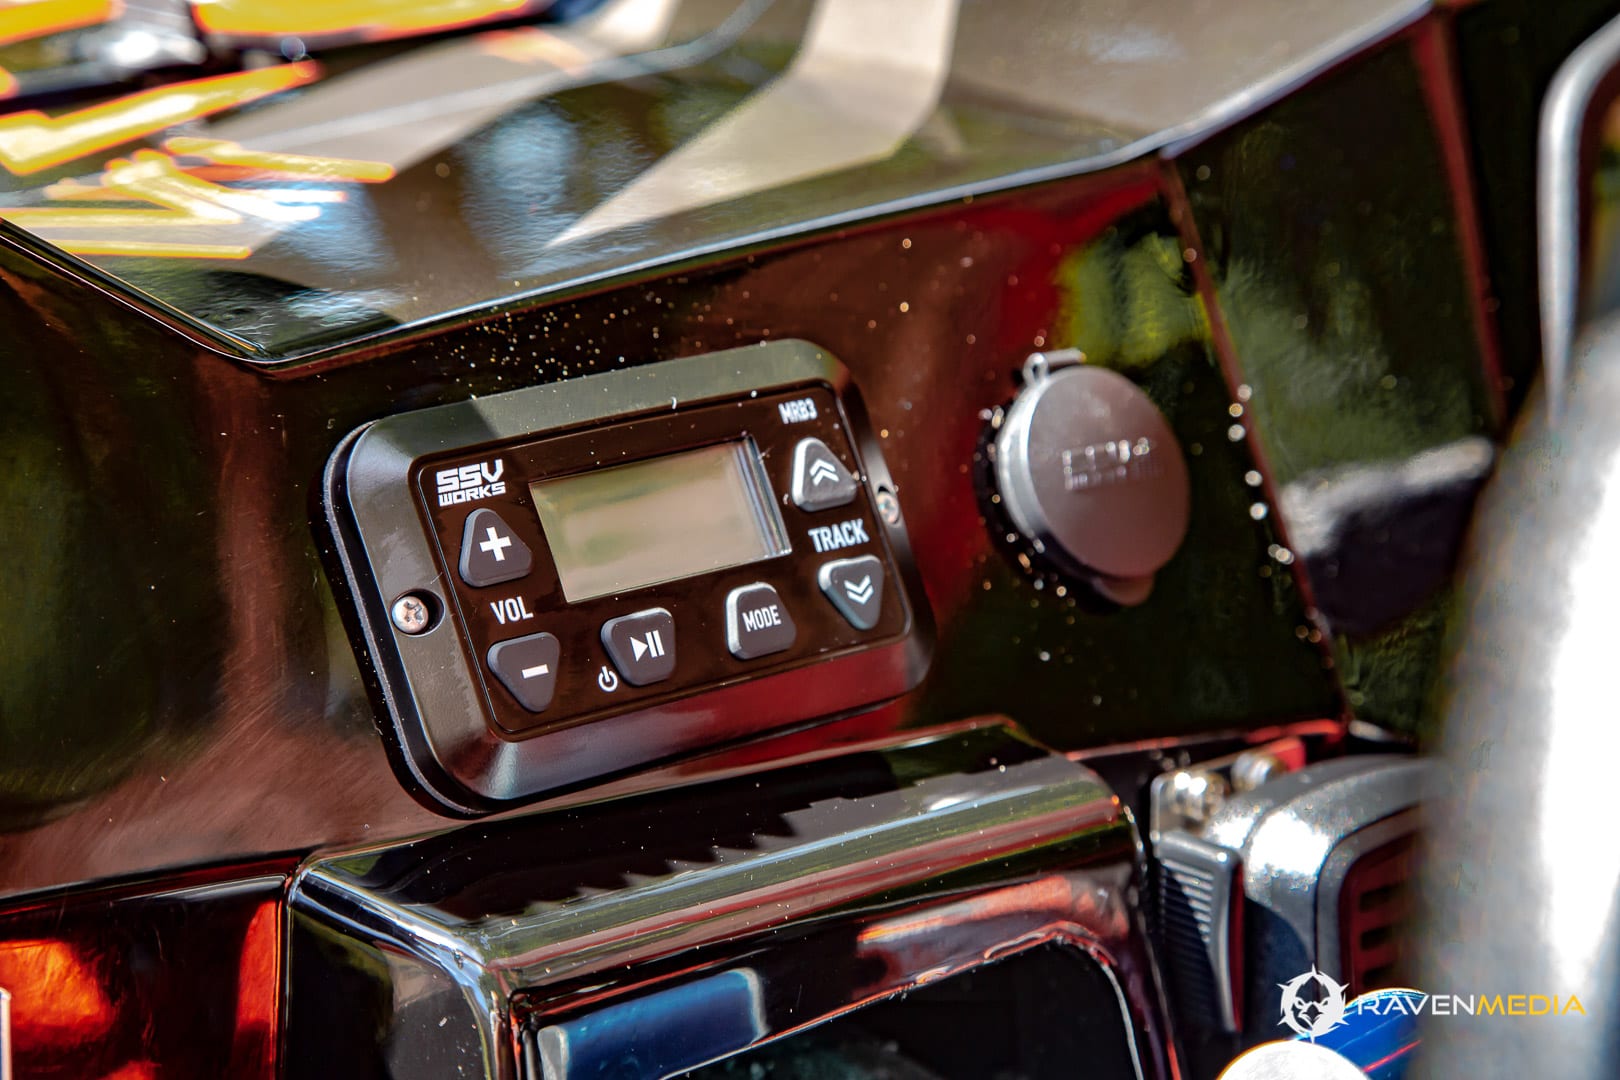
With the cage back on, we started in with the electronics. We knew we were adding in a stereo system, so we started that with a completely sealed and weatherproof, 360-watt amplifier from the experts at SSV Works. This amp is plug-and-play and designed for UTVs, making it the logical choice. We also added their Bluetooth panel-mount media controller. This way, we aren’t relying on the radio for tunes, but can link our phone and use downloaded music.
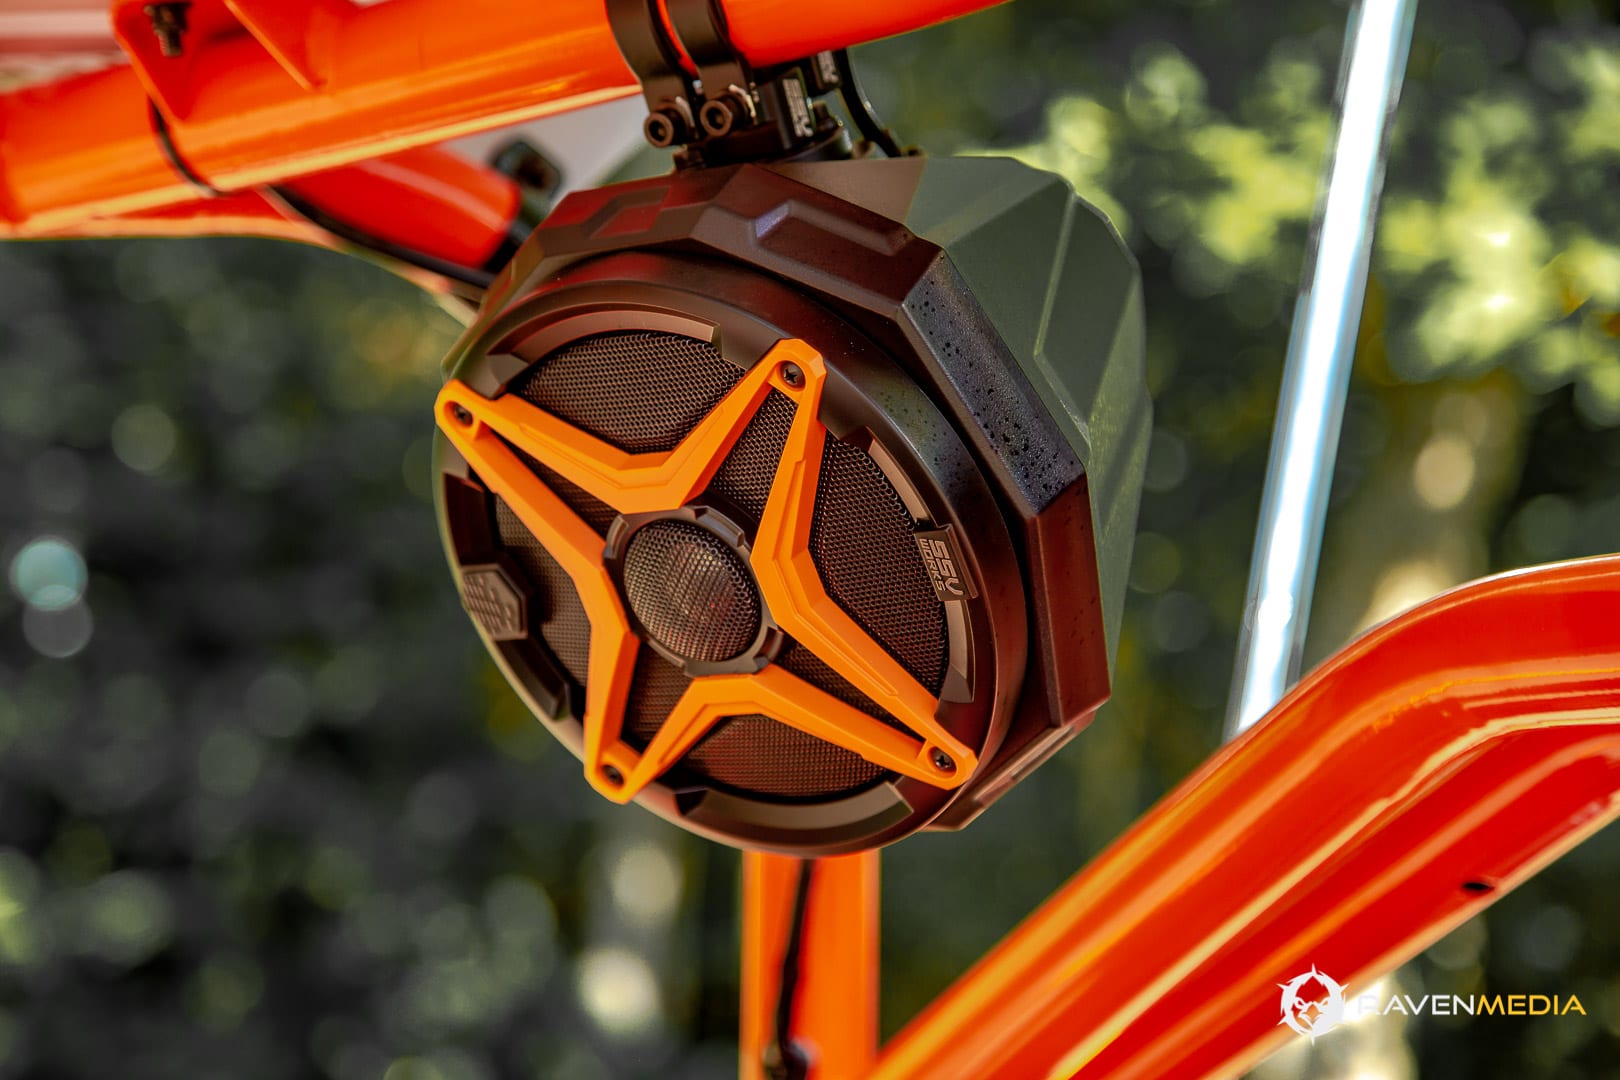
For speakers, we added SSV Works’ 120-watt 6-1/2-inch pod speakers in the rear of the cage, and adapted their 6-1/2 inch, 120-watt RZR speaker pods for the front speakers. Overall, we are very pleased with how the sound system turned out.
From there, we decided that our custom-built ZFORCE needed to communicate better, so we tapped the pros at Rugged Radios for some assistance. Their ABM25 25-watt weatherproof, dual-band radio is a great way to communicate with other machines in your group. Plus it looks cool, and is as durable as they come.
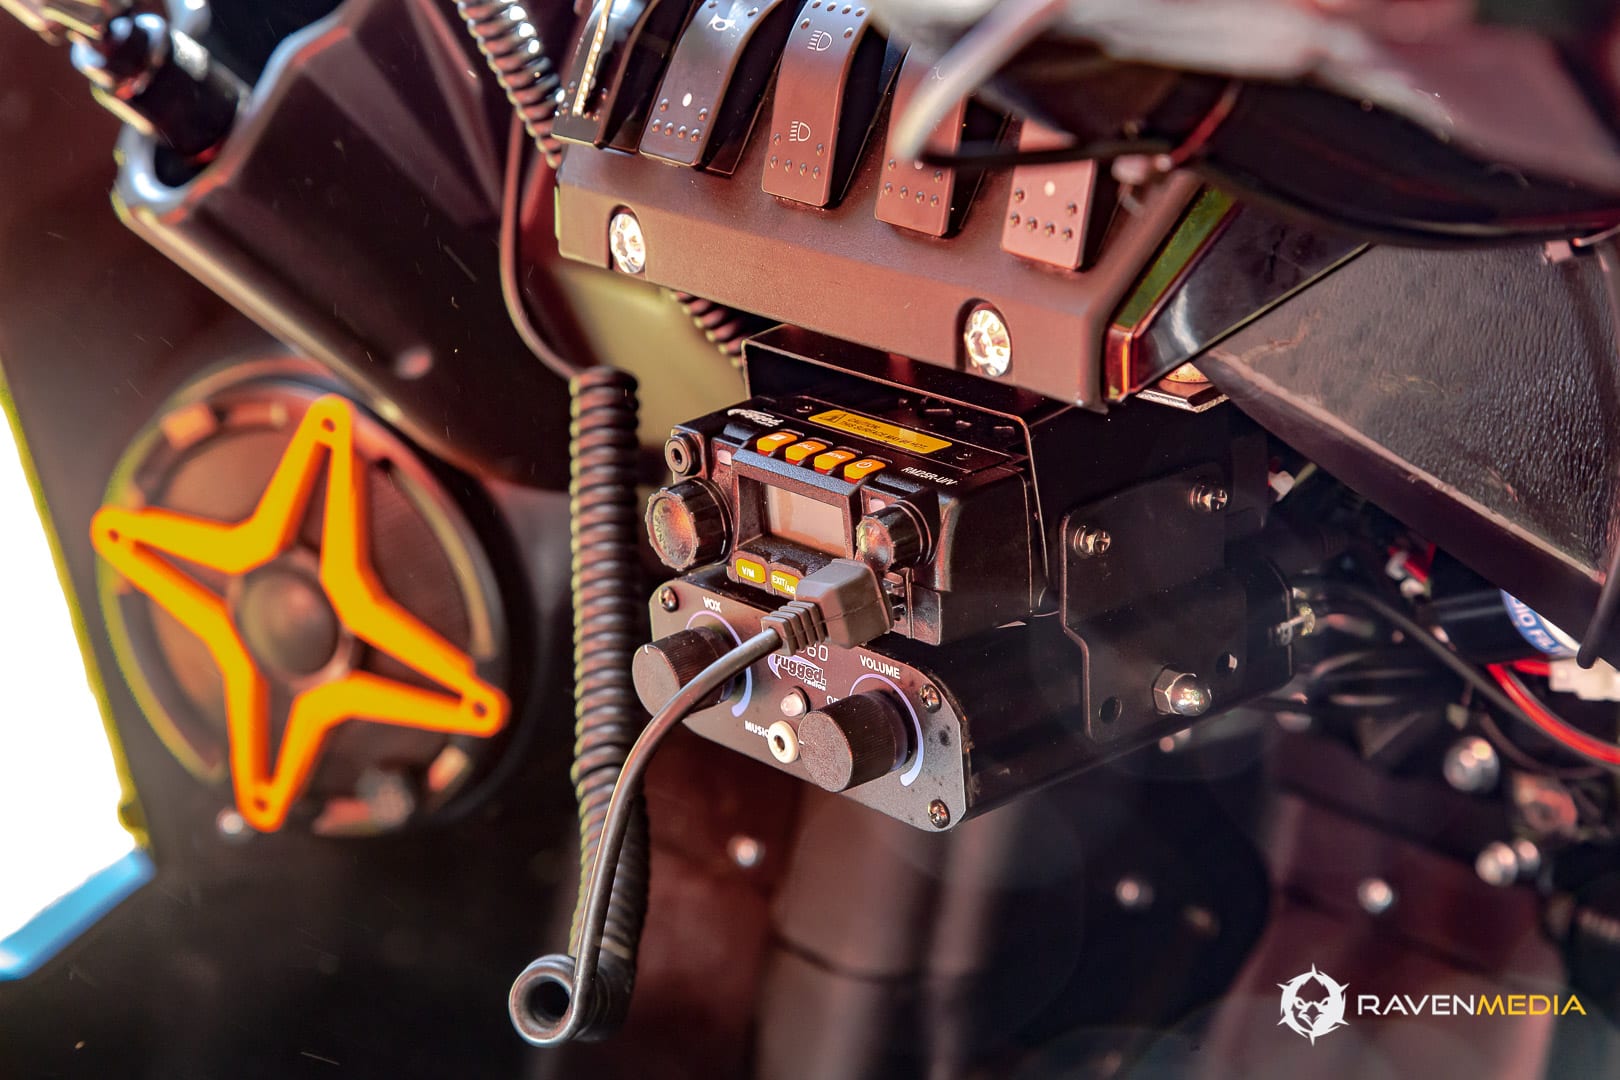
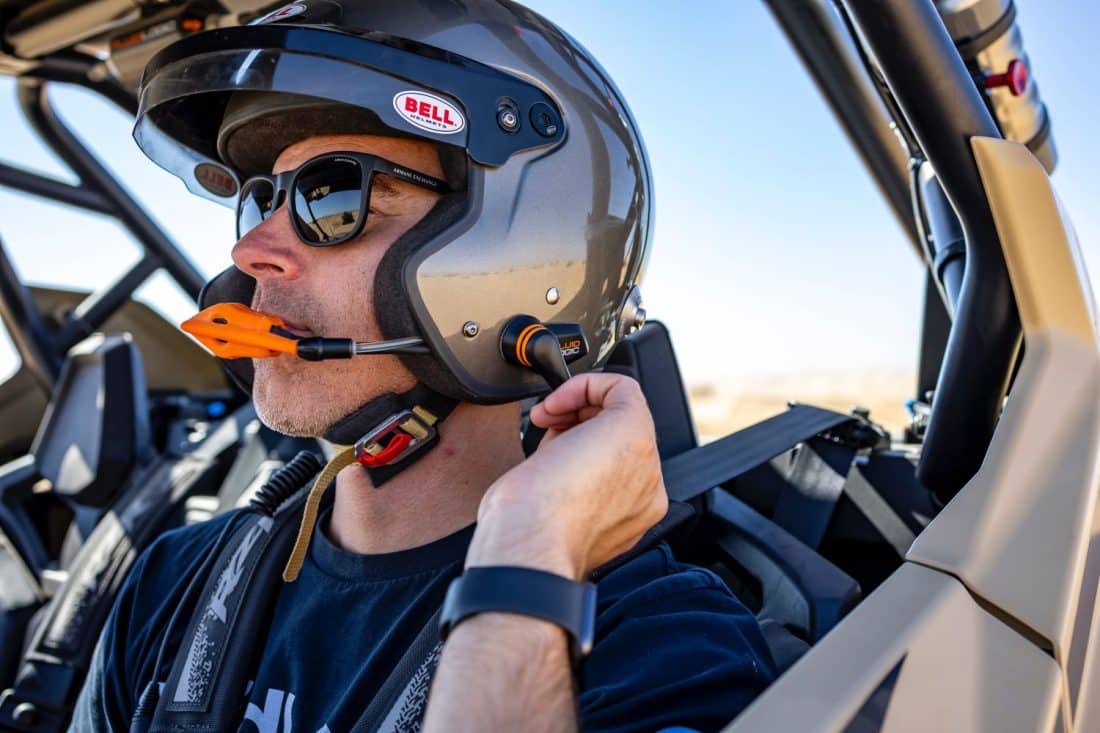
We also want to be able to communicate inside the ZFORCE with the person in the passenger seat, so while we were at it, we had Rugged Radios set us up with the RRP660 2-place intercom system with helmet kits. This system works with your helmet and is dash-mounted so you can easily talk to the person sitting next to you, without having to try to shout over the engine, trail and sound system.
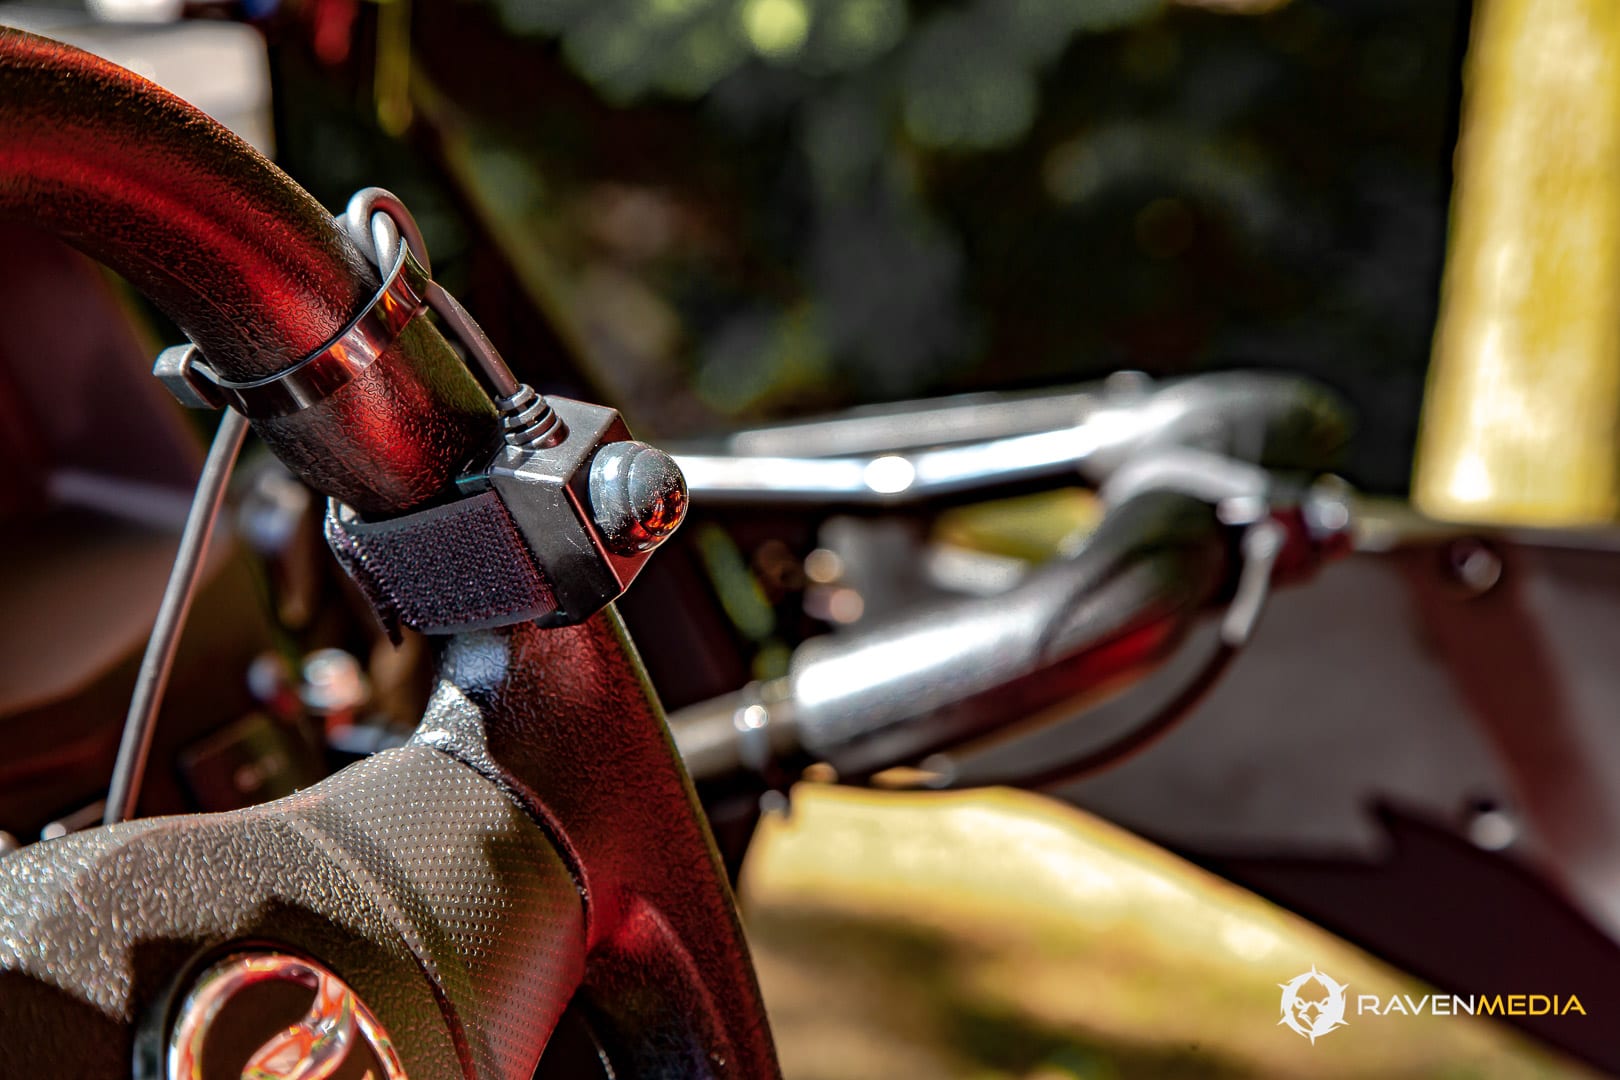
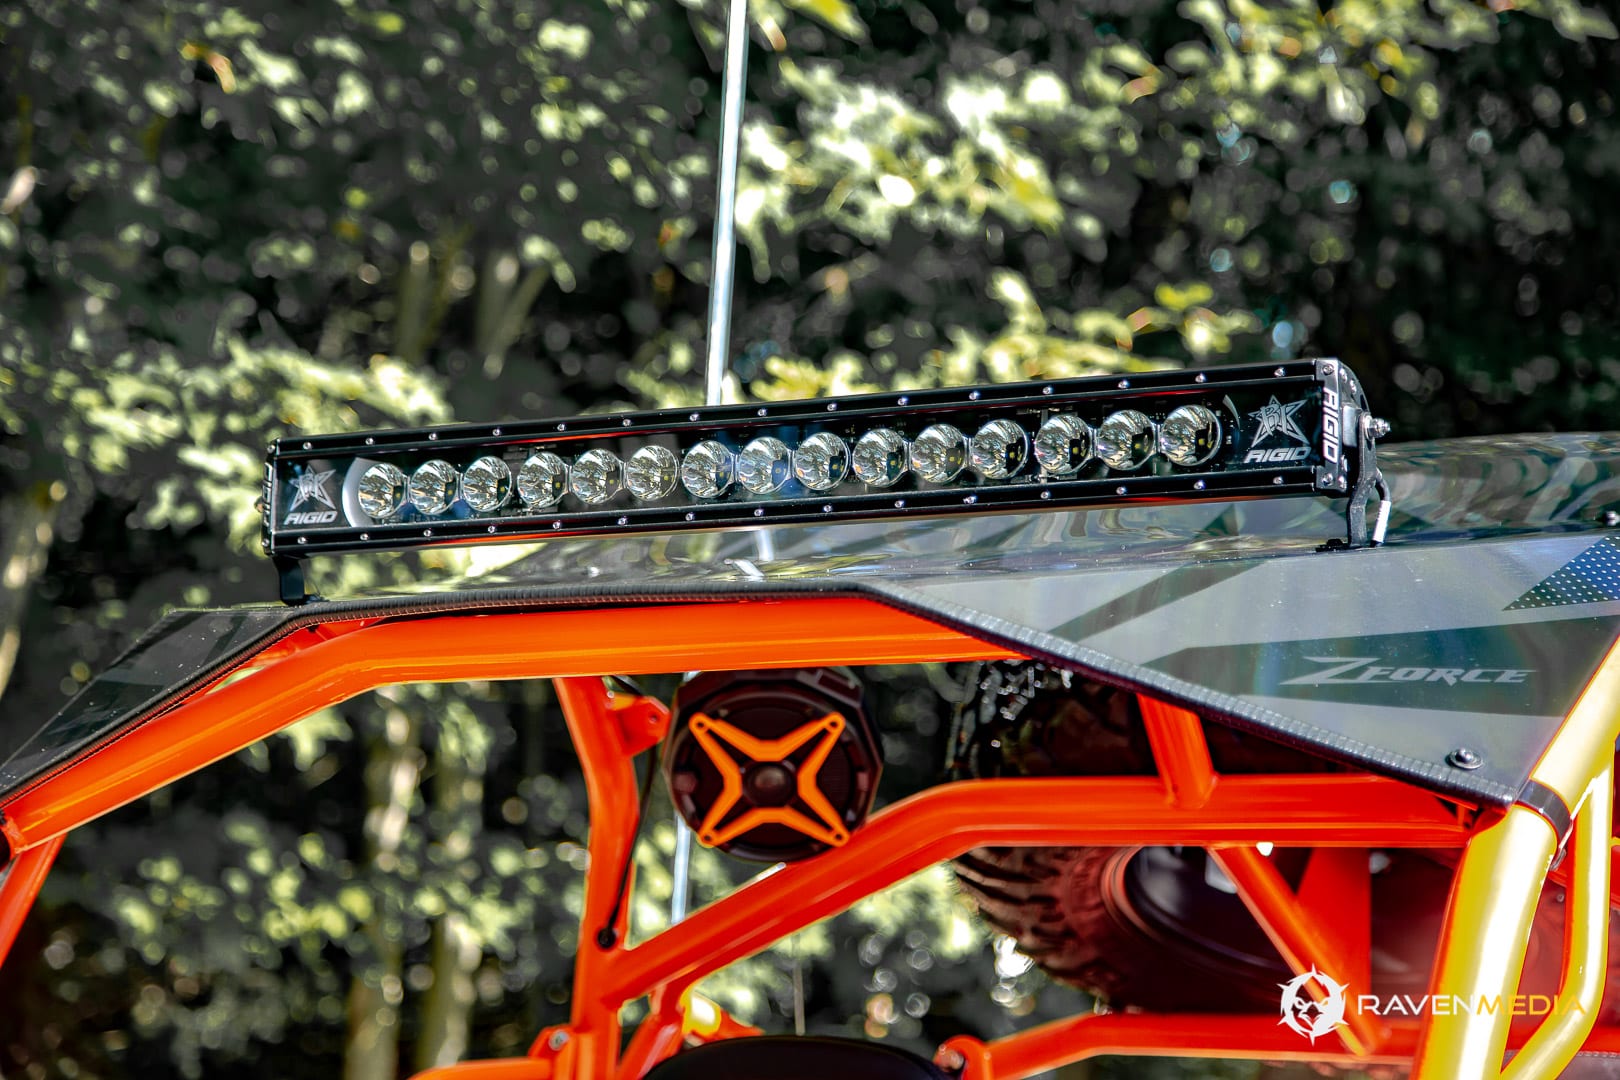
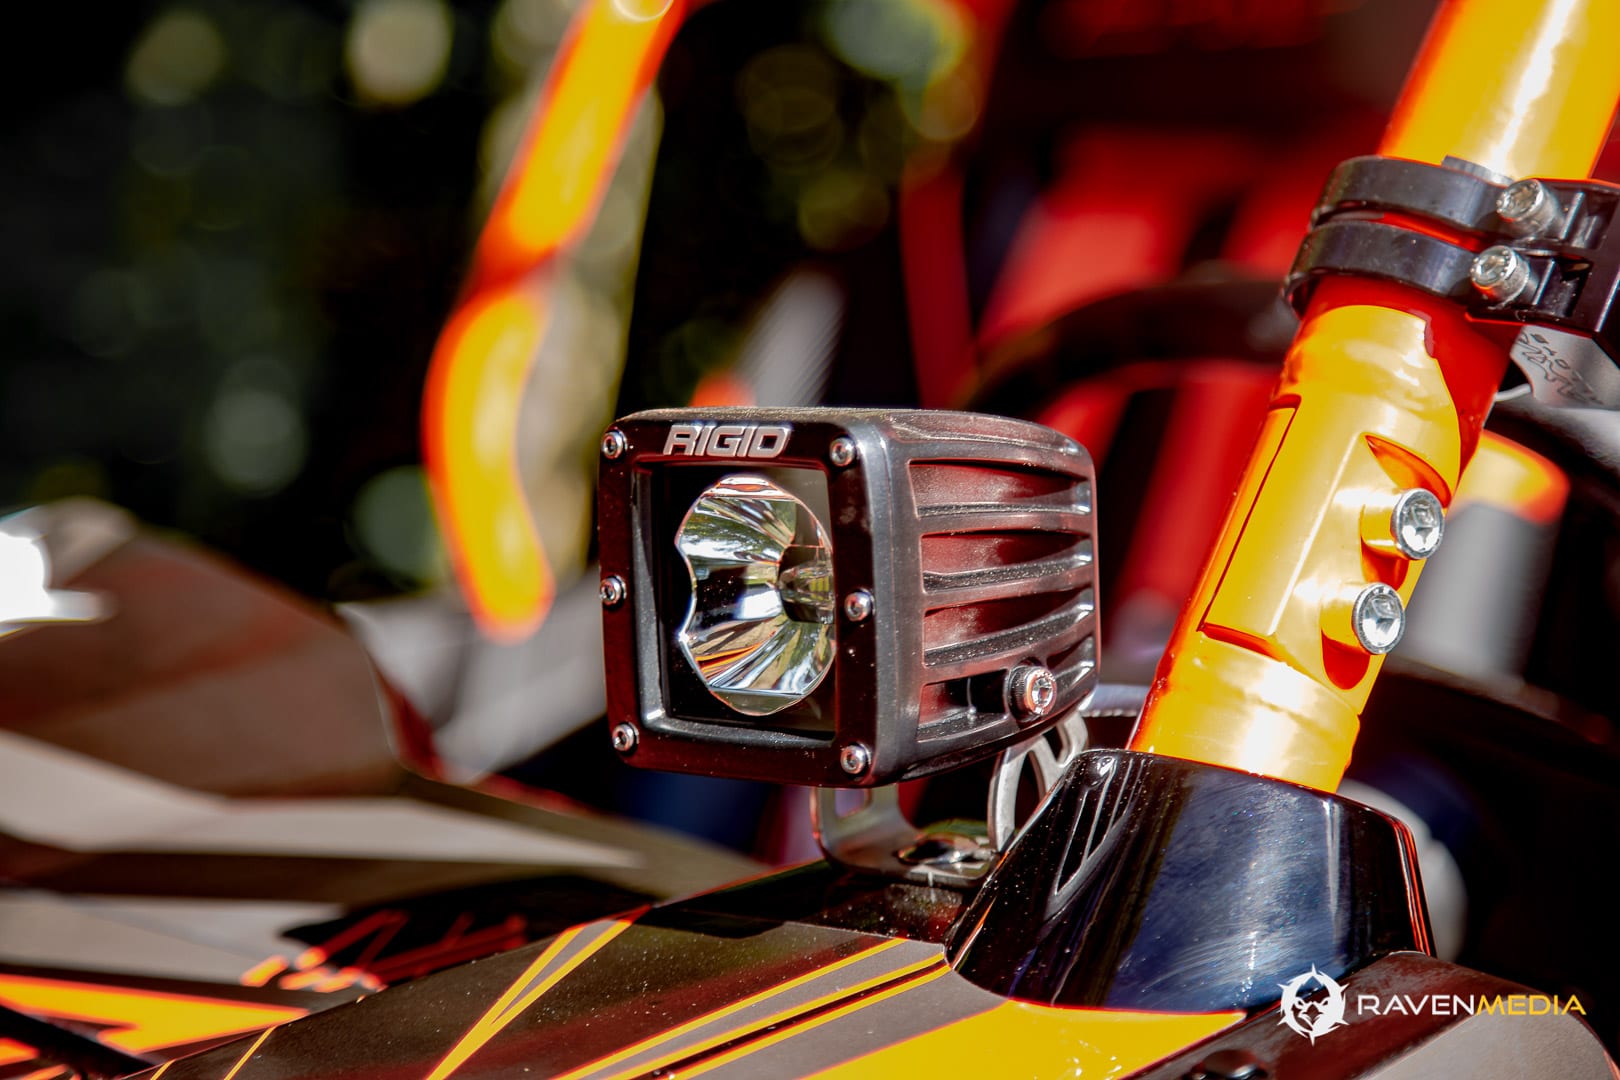
Now that we had tunes and communication chores taken care of, there was one other electrical thing to add – lighting. There were a lot of options for lighting, but we went to where we knew we’d find just the right stuff – Rigid Lighting. We added a 30-inch Radiance Plus LED light bar that is 30-percent brighter than the previous model. We also added Radiance POD lights from Rigid and topped it off with their Rock Light kit that mounts small LED light pods under the chassis for letting the immediate terrain show up, perfect for rock crawling after dark. There are several option for colors for the LEDs, but for practicality and actual use in the dark, we chose the Amber colored lights for best night vision.
To add to the safety factor as well as the coolness factor, we went back to SuperATV for a set of five-foot LED Whip lights. These flexible LED whips really show up well after dark and are a great safety feature for remaining visable after the sun goes down. You can program the LED colors yourself, too, which is a fun and custom look.
While we were at SuperATV, we opted for some of their excellent 12-volt Off-Road Rocker Switches to control all of the lighting options we added to the ZFORCE. Using all of the same switches gives our machine a uniform look and ups the cool factor, plus we know that these are durable switches that won’t fail on us.
STAGE 3 – BODYWORK
Once we had all the electrical stuff back in place, it was time to start getting more of the bodywork back on the machine. We had our cage back on, and now we were able to get the matching rock sliders back on that we had powder coated too. We also had the front and rear bumpers ready to go back on and the whole unit was really coming together well.
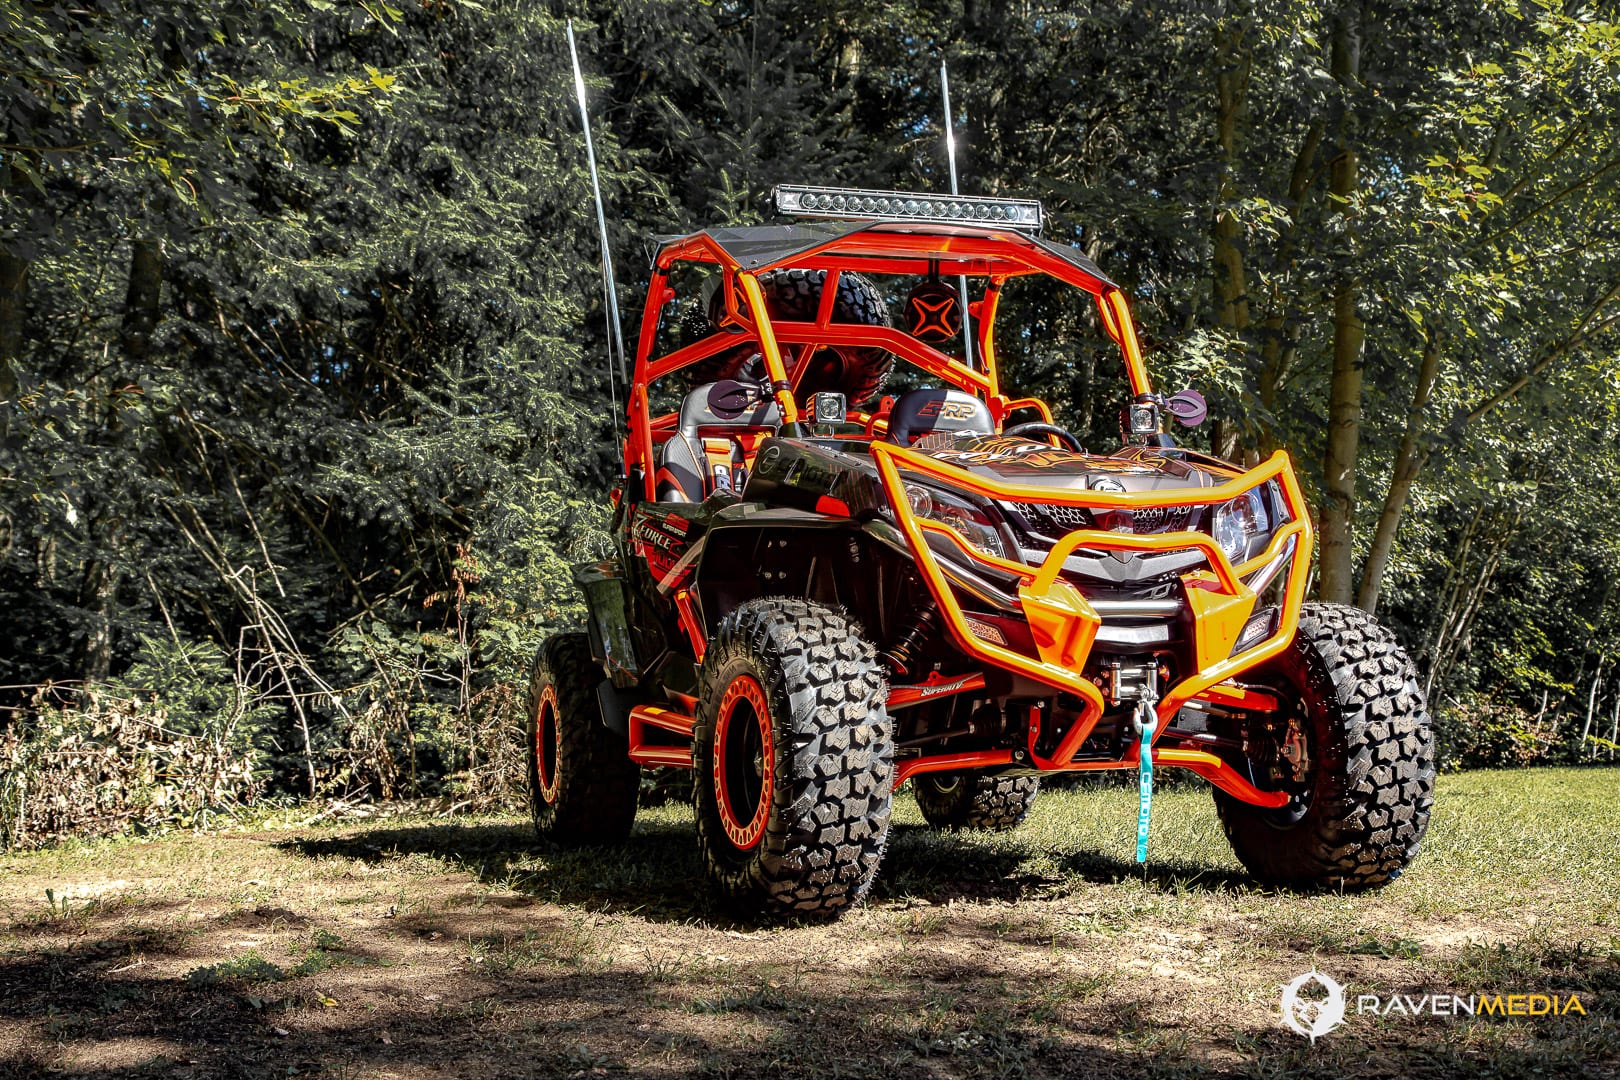
We reinstalled the stock plastics, but we had removed all of the stock graphics. You can’t just have a stock-looking machine with the amount of custom work we had into our ZFORCE! Kuvek-Amerika created a special, custom full body wrap for our CFMOTO monster that really popped with the custom powder coating. If you’ve never installed a wrap on a machine before, oh man is it a lot of work. You have to go slow and meticulous, working ever last bit of air out of the adhesive and stressing to make sure everything lines up right and goes in perfect. A wrap costs hundreds of dollars, and if you screw it up, you can’t just go and redo it. You have to start over. Luckily this wasn’t our first rodeo, and we knew what we were getting in to. A piece of advice on wraps. If you’ve never done one before, and aren’t sure what you’re doing, it is worth it to pay to have an expert install it for you.
STAGE 4 – SEATING FOR TWO
Once we had the plastic back on and looking fly, we bolted our powder-coated spare tire carrier back on. The machine was really coming together now. It was time to add some seats. We could have put the stock seats back in, but that wouldn’t be our style. Besides, we plan to serious drive this machine, so we knew we wanted a little more serious of a seating platform. PRP set us up with their new XC suspension seats. These are custom made seats that PRP makes specifically to order. They are originally designed for the Polaris RZR, but we were able to easily adapt them for our CFMOTO ZFORCE. These seats have extra bolstering to provide more support for your legs, back and butt, plus they are suspension seats, so you had added comfort from impacts and rough driving. As an added bonus, we were able to color match them to our build, for a classy look.
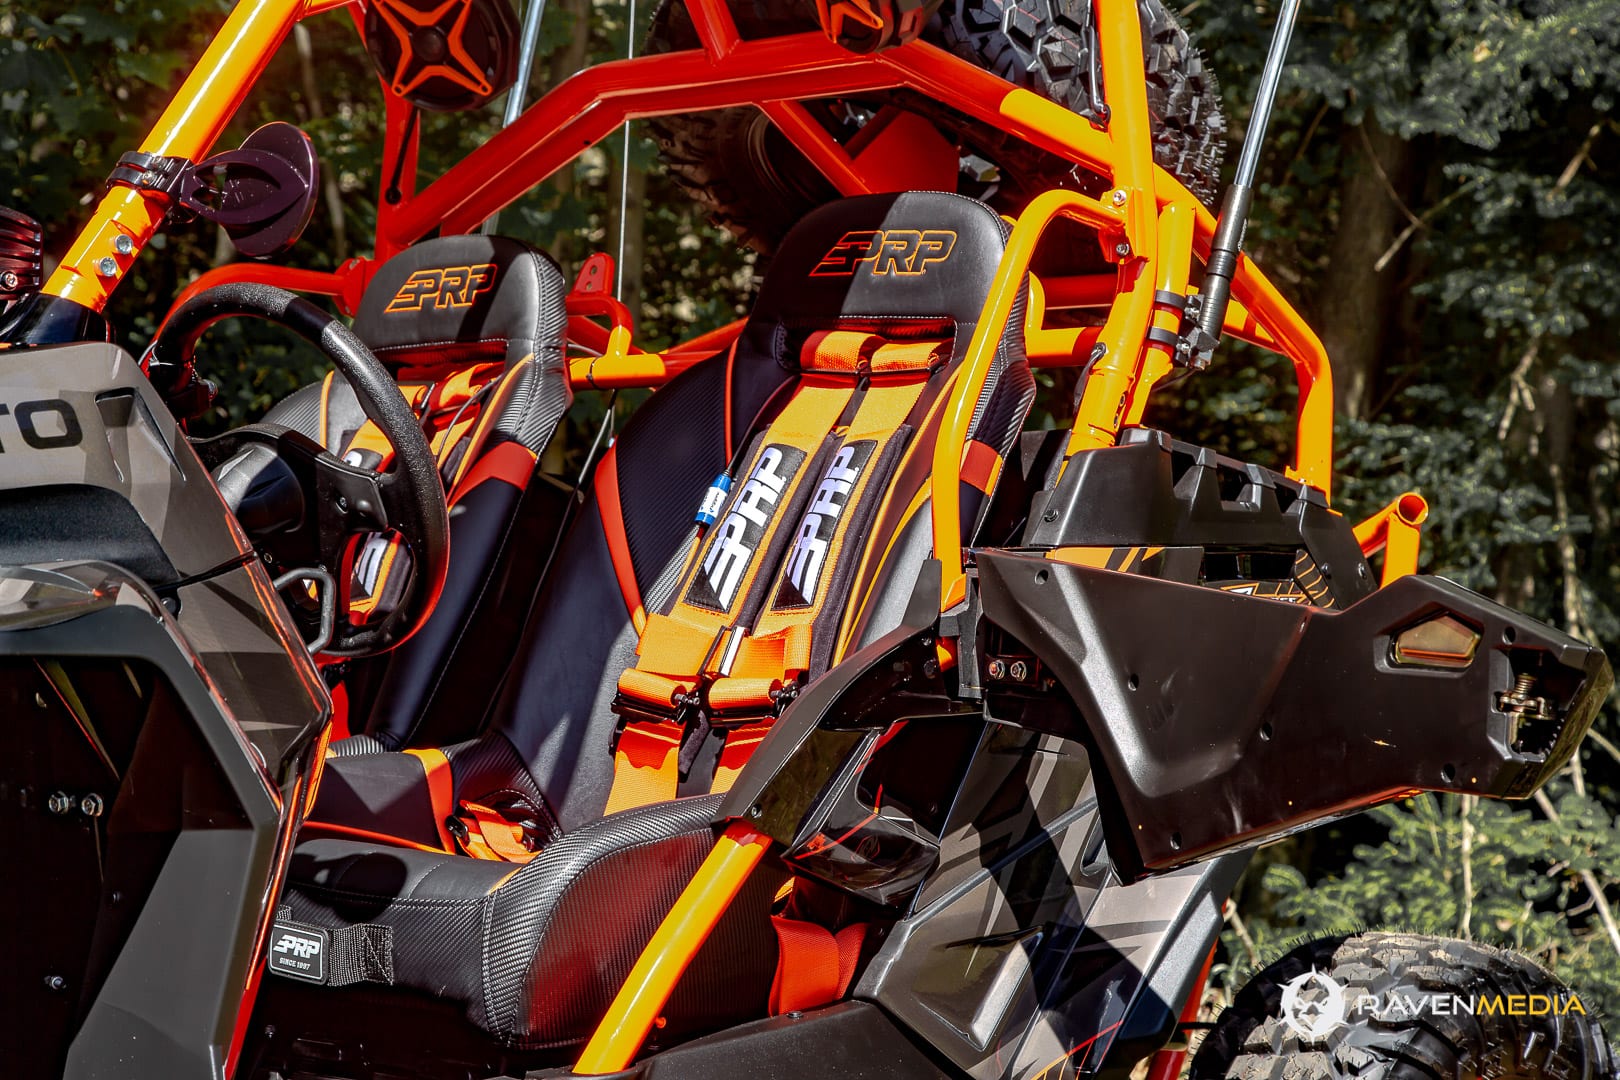
While we were at it, we decided to bump up the protective factor of the seat belts. The PRP seats will work fine with the stock seatbelts, but they also make a sweet four-point harness. We went with their color-matched 4.3 System, which mates a four-point harness with a three-inch wide belt for optimal comfort and security. They have EZ-adjusters to quickly set up the fit and get you secured in the machine, even when they are covered in mud.
STAGE 5 – WHEELS AND TIRES
Once we had everything done, the last step was one of the easiest. We chose to upgrade the stock wheels to MSA M31 Lok2 wheels. These are heavy-duty aluminum wheels that are as sturdy as they are beautiful. They are finished in a satin black that is baked on and extremely durable. The wheels are made even more stylish and rugged with the addition of a matte grey finished bead lock rim. MSA bead locks are nice because they design cleaning holes into the bead lock ring that helps with cleaning and movement of mud and debris out of the rim. That can be a problem with bead locks, but not with the MSA rims. Plus, they look amazing.
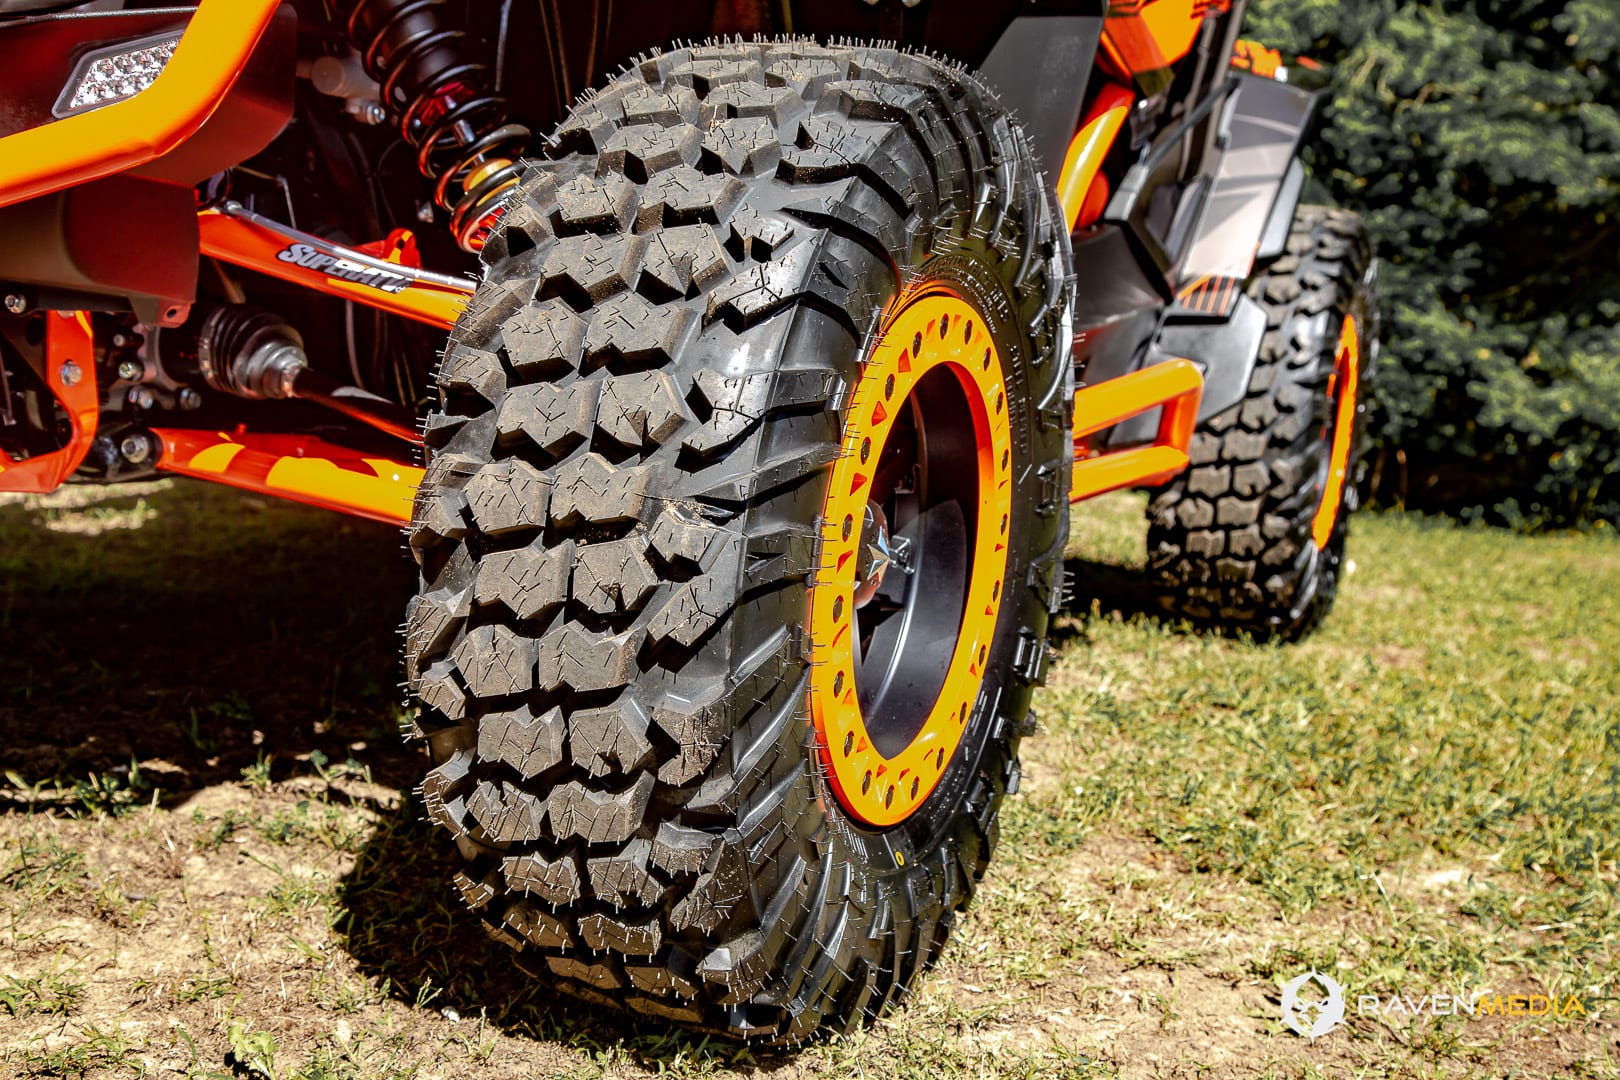
For tires, we went with something that could handle extreme terrain. EFX Tires makes some of the most rugged and durable tires on the market today. Their new Motovator UTV competition tire was designed for hard core competition. It has deep, siped tread with a broad contact patch to keep you digging in on everything from slick rocks to hard packed dirt, to loose soils. Deep sidewall tread helps pull you out of ruts and up inclines and the steel belted construction has more in common with light truck tires than it does with traditional ATV-type tires. You want extreme, we give you extreme.
SO, THERE IT IS.
We give you the 2019 CFMOTO ZFORCE 1000 SE as we envisioned it. We are unbelievably proud of this build and how well it came together. We’d like to thank each company involved for their help with making it all blend into one seriously awesome machine, and special thanks to CFMOTO for having the faith in us to make it happen, and for letting us put our stamp on a machine that you can go to your dealership and buy. If you’re lucky enough to buy one, we’d love to see picture or video of you enjoying it, and by all means, let us know what you think. We’re happy with how well it turned out and know you will be too.
Special Thanks to the following Build Partners:
CFMOTO Canada – EFX Tires – Elka Suspension – MSA Offroad Wheels – Kutvek Amerika – PRP Seats – Rigid Industries – Rugged Radios – Super ATV – SSV Works – Soucy International


